1. Go to Viator Partner resources and Log in or Sign up: https://partnerresources.viator.com/
2. Once you’re in the Viator Partner dashboard, navigate to: Tools → Affiliate API
3. Under “Production keys”, click Copy to copy your API Key.

1. Download the plugin ZIP file “Viator Affiliate API WP Plugin” from the email you received after purchase.

2. In your WordPress Admin Dashboard, go to: Plugins → Add Plugin
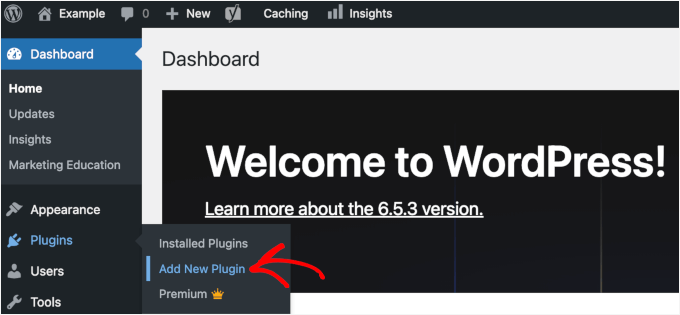
3. Click Upload Plugin.

4. Click Choose File, select the downloaded .zip, then click Install Now.

5. Click Activate Plugin to enable it.

1 Open the plugin settings
In WordPress Admin, go to the left sidebar menu: Travaff.

In the Settings screen, find the API Key field and paste the API Key you copied from Viator.
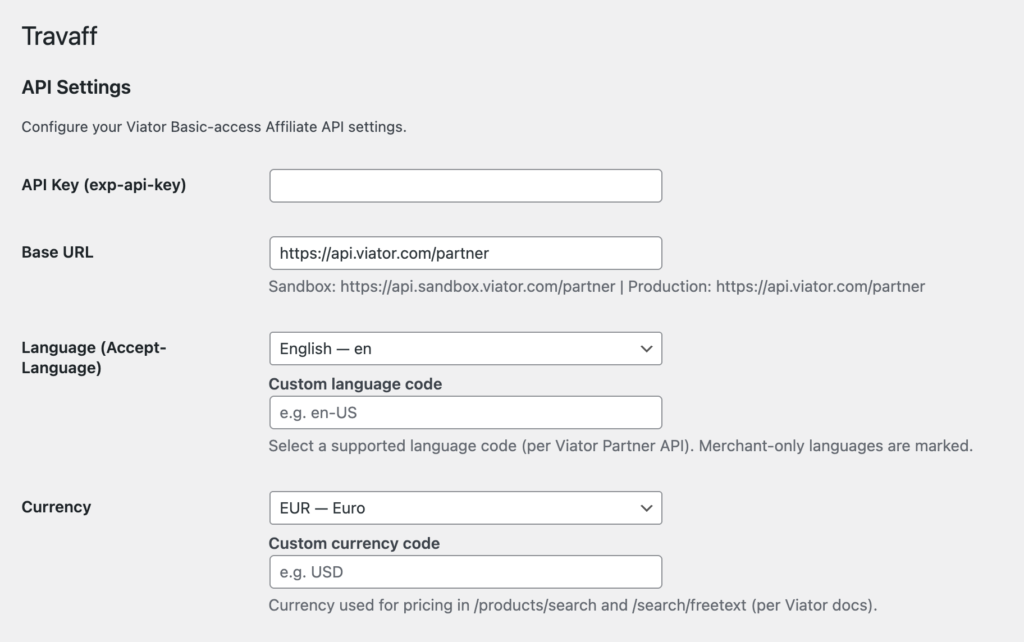
There are two API key modes:
- Sandbox (for staging/testing)
Base URL: https://api.sandbox.viator.com/partner - Production (for live website)
Base URL: https://api.viator.com/partner
2 Complete the Setup Wizard (Results page + Tour detail page)
- In Setup Wizard, enter the slug for:
- The tour search results page
- The tour detail page

Click Open Results Page to verify the slug and preview your tour search results page.


You can place the search form anywhere by using this shortcode:
[viator_tour_search_form]
- Paste it into a WordPress page/post where you want the search form to appear.

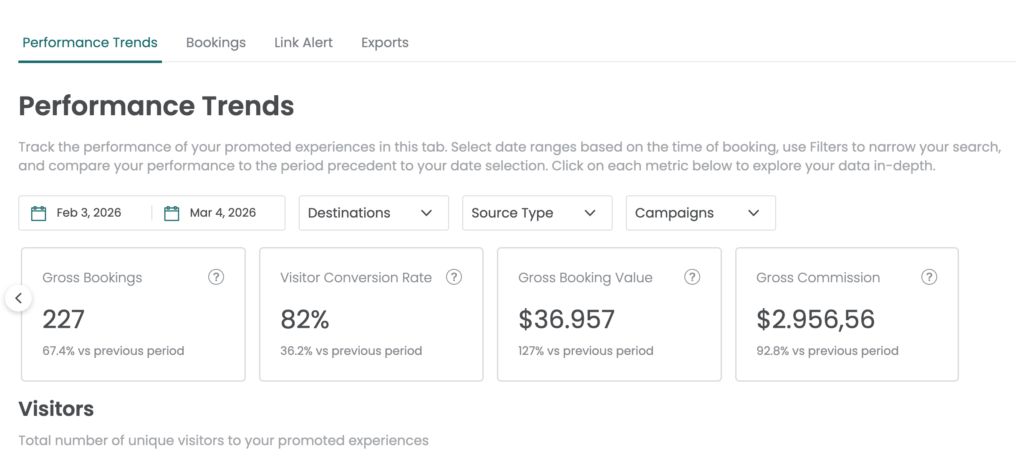
To monitor your results:
- Go to the Viator Partner Dashboard: https://partners.viator.com/dashboard/
- You can review key statistics such as:
Visitors, Gross Bookings, Gross Booking Value, Gross Commission